8 Creative Uses for Pear Relish (Sweet & Savory Recipe Ideas)
Pear relish is a versatile, flavor-packed condiment that brings together sweetness, tang, and subtle savory notes. While it’s often served as a side, pear relish can do so much more. From glazing meats to elevating sandwiches and cheese boards, this underrated pantry staple deserves a starring role in your kitchen.
If you’re wondering what to do with pear relish, here are 8 creative uses for pear relish that will transform everyday meals into something special.
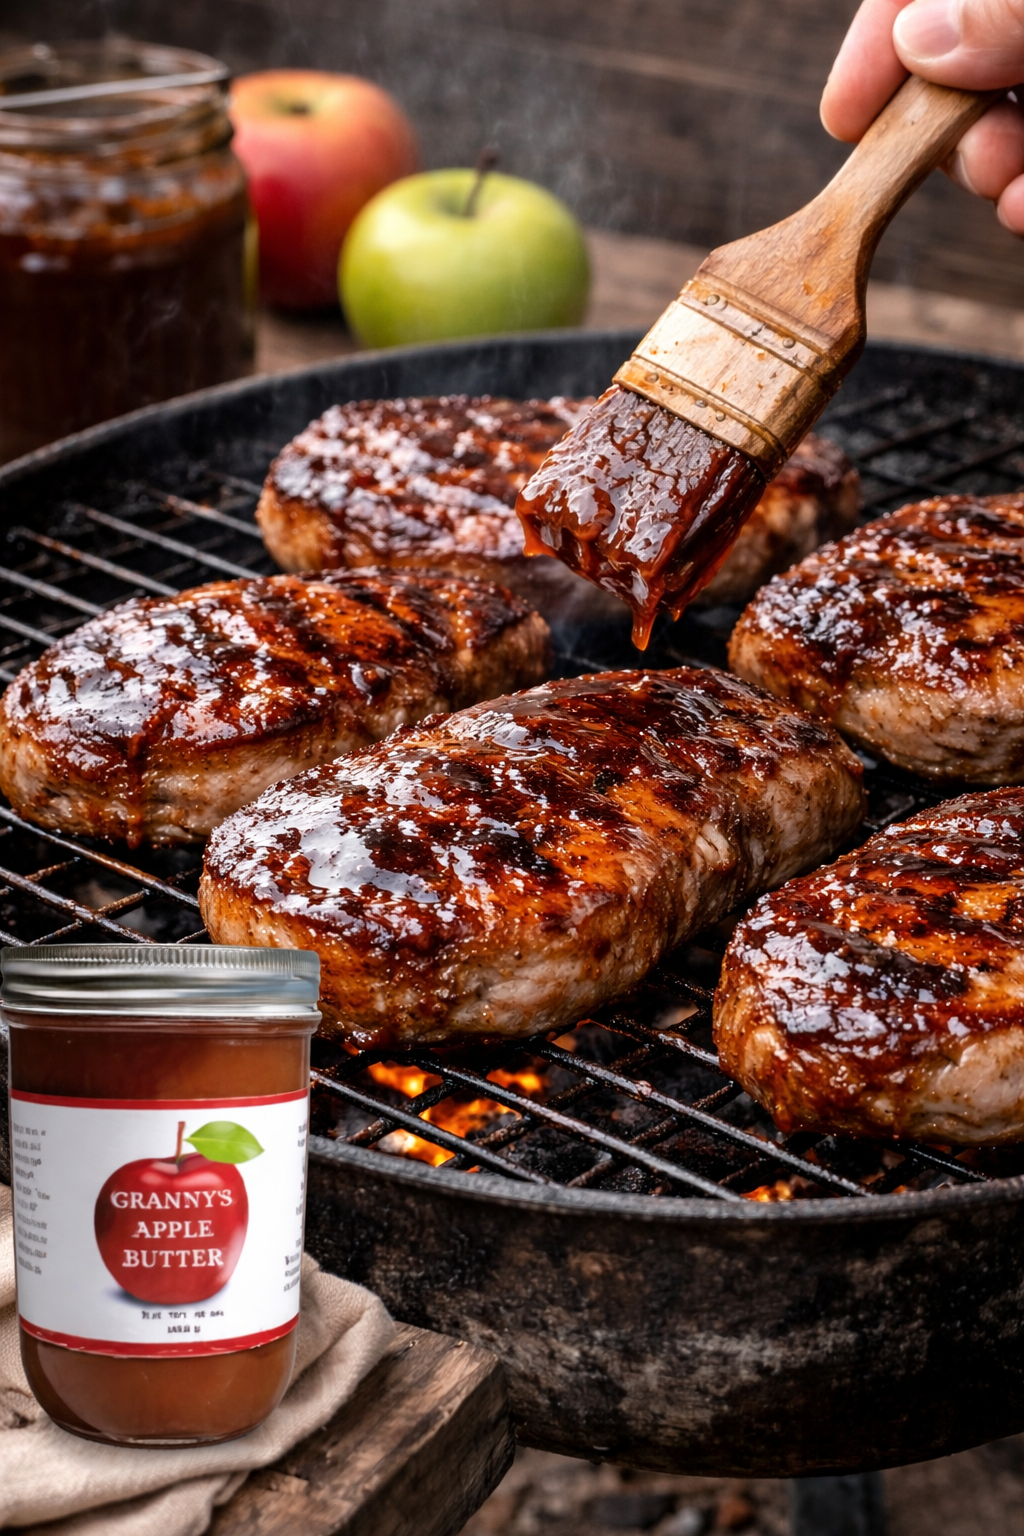
1. Pear Relish Glaze for Pork, Ham, or Chicken
Using pear relish as a glaze is one of the easiest ways to enhance grilled or roasted meats. Warm it slightly and brush it over pork chops, baked ham, or roasted chicken during the final minutes of cooking. The natural sugars caramelize while the acidity balances rich flavors.
Best for: Pork tenderloin, smoked ham, grilled chicken thighs
2. Sandwich & Burger Spread with Pear Relish
Replace traditional pickles or condiments with pear relish to add a sweet-tangy contrast. It pairs beautifully with smoky and savory proteins.
Great on: Pulled pork sandwiches, turkey burgers, grilled chicken sandwiches
SEO keywords: pear relish sandwich ideas, pear relish burger topping
3. Pear Relish for Cheese Boards & Charcuterie
Pear relish pairs exceptionally well with cheese, making it a standout addition to charcuterie boards. Serve it alongside brie, goat cheese, sharp cheddar, or blue cheese.
Why it works: Sweet fruit balances salty and creamy cheeses
4. Topping for Roasted Vegetables
Roasted vegetables get an instant flavor boost with pear relish. Toss or top roasted Brussels sprouts, carrots, sweet potatoes, or squash with a spoonful just before serving.
Tip: Finish with olive oil or flaky sea salt
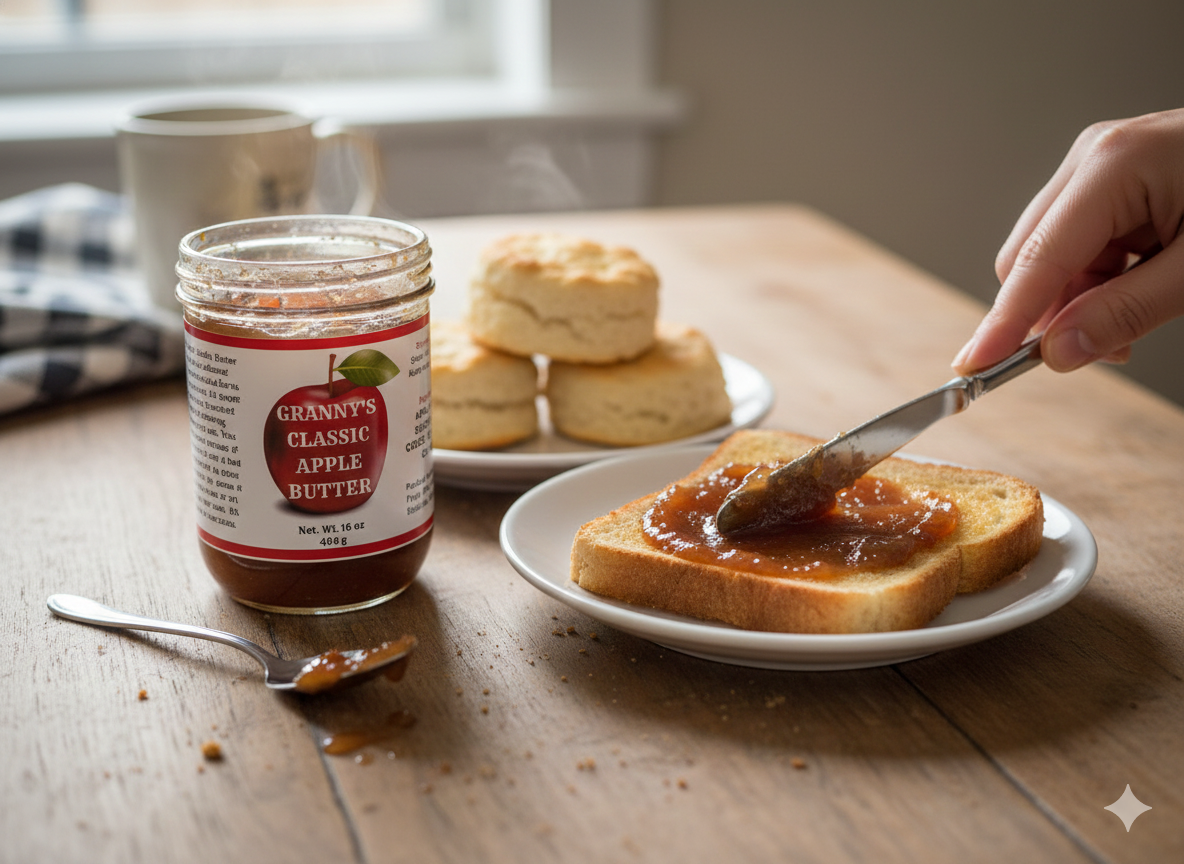
5. Sweet & Savory Breakfast Ideas Using Pear Relish
Pear relish isn’t just for dinner—it works beautifully at breakfast. Serve it with biscuits, breakfast sausage, or as a topping for savory breakfast sandwiches.
Unexpected favorite: Toasted English muffin with cream cheese and pear relish
6. Pear Relish Salad Dressing & Vinaigrette
Blend pear relish with olive oil, Dijon mustard, and apple cider vinegar to create a homemade pear relish vinaigrette. It’s perfect for spinach salads, mixed greens, or grain bowls.
Pairs well with: Nuts, dried fruit, feta or goat cheese
7. Pear Relish with Seafood
Pear relish adds subtle sweetness to seafood dishes. Brush it onto grilled shrimp, pan-seared salmon, or scallops for a balanced, sweet-savory finish.
Flavor upgrade: Add red pepper flakes or fresh ginger
8. Southern-Style Dishes with Pear Relish
Pear relish shines alongside classic Southern comfort foods. Serve it with fried chicken, pork tenderloin, meatloaf, or black-eyed peas for a nostalgic yet modern twist.
Think: A fruity alternative to chow-chow or pepper relish
Why Pear Relish Belongs in Your Pantry
Pear relish is more than a side—it’s a multi-purpose condiment that enhances everything from meats and vegetables to cheese boards and breakfasts. Whether you’re cooking for a crowd or elevating weeknight meals, pear relish delivers big flavor with minimal effort.
If you’ve been searching for unique pear relish recipes or new ways to use pear relish, these ideas are the perfect place to start.